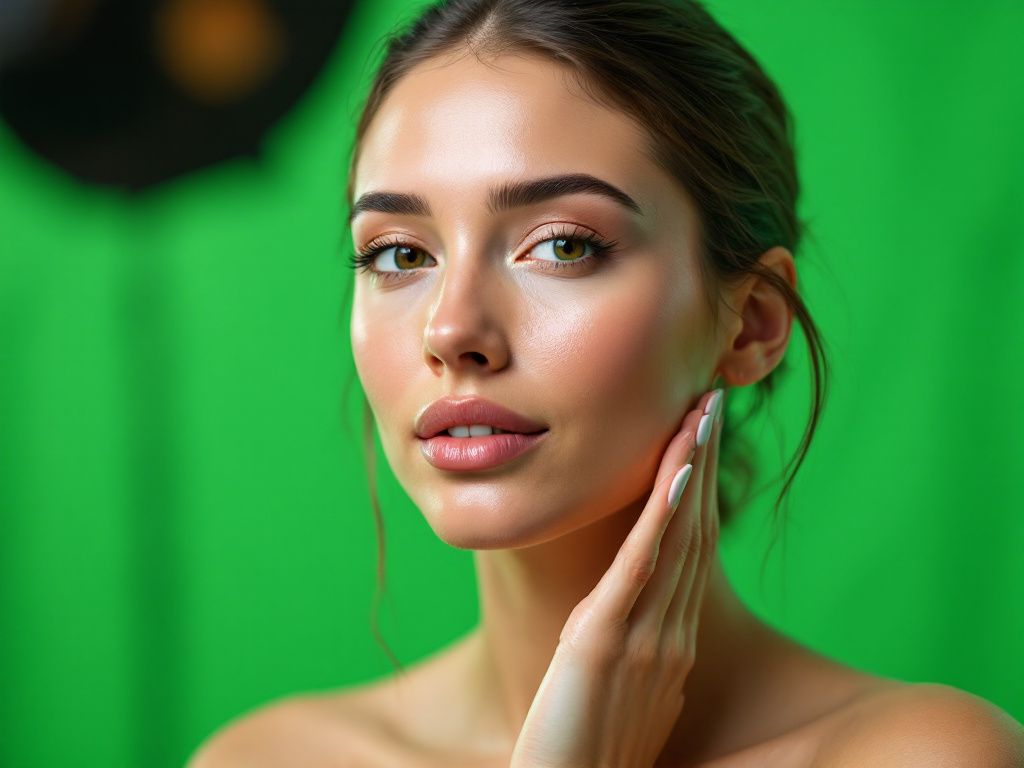
We’ve all heard of green screen technology, right? You know, that magical tool that allows filmmakers, vloggers, and content creators to transport subjects to any world imaginable. Yep, that’s the one. But here’s a question that may not immediately come to mind when you think about donning your green latex suit to become a real-life superhero: “How do I protect my skin under those glaring technical lights and reflective screens?”
Green screen production often requires bright lights to eliminate shadows and achieve a seamless effect. Perfect for capturing your subject but not exactly kind to the skin. Let’s dig into why *skin preparation* should be your number one priority during these shoots and how you can protect that precious outer layer from the intense environment.
The Techy Bit: Understanding the Green Screen Setup
Okay, let’s get this one out of the way. Green screen (or blue screen, no one’s playing favorites here) involves placing subjects against a bright, uniformly lit surface. The technical lighting is crucial. It helps with removing the background in post-production so your dragon or spaceship doesn’t end up looking like a blurry mess. However, this abundance of light and reflective surfaces can have less than ideal effects on the skin. Heat, sweat, and heavy make-up—all players in this sticky situation.
- Lighting Types: LED lights are a popular choice for green screen setups. They’re bright and help spread even illumination. On the downside, they can be harsh and, if not managed properly, can damage the skin or lead to discomfort. Sometimes, fluorescent lights make their way into the mix. They may cause less heat build-up but can still be harsh.
- Common Setup: Lights are typically positioned on either side of the screen to avoid casting shadows. And, guess what that means? More exposure to frontal assault on your face!
Now that we’re on the same page about what’s happening in that gleaming setup, let’s move on to the part you’re really interested in.
Pre-Shoot Skin Preparation: Your Protective Line-up
Before you bathe in the spotlight, make sure your skin is set and ready to take on the world. Here’s your game plan:
1. Hydration, Hydration: In Case You Didn’t Hear That!
Honestly, you can’t underestimate the power of being properly hydrated. Before you reach for your morning coffee, consider downing a glass of water first.
**Why It Matters**: Well-hydrated skin holds up better under heat and light. Dehydrated skin can appear dull and make you look exhausted, thus also affecting your coverage on camera.
2. Clean That Skin Like You Mean It

Kick off your routine with a good cleanse. Get rid of all those impurities, but keep it gentle.
- Gentle Cleanser: Use something mild. You want to avoid any harsh reactions that could lead to redness or patches on camera.
This step ensures there’s a clean slate for your other protective layers to do their thing.
3. Moisturize for the Stars
Moisturizing isn’t just a skincare trend—it’s your first real shield.
- Hydrating Moisturizer: Opt for one that offers hydration without an oily finish. You sorta want that balance between dewy and dry that technical lighting can totally mess with.
Moisturizer helps form a barrier over the skin, which not only keeps moisture in but helps keep dust and some irritants out.
4. Prime Time Protection
Makeup primer isn’t just for makeup gurus. It acts like a filter between your skin and whatever comes next. Trust me on this one.
- Primer Perks: Not only does it provide a smooth application for further products, but it also maintains balance, keeping shine in check under those blistering lights.
Swoosh this over after your moisturizer and before any makeup. You’ll thank me later when you don’t look oily in post-production shots.
5. SPF is Non-Negotiable
Yes, indoor lighting doesn’t have the same UV rays as the sun outside, but bouncing bright lights too close for comfort could still cause some damage rate.
- Wear SPF: Choose a lightweight, non-comedogenic SPF; simple truth is, this tiny step keeps you protected from any unexpected harmful rays.
The key takeaway? This combo of hydration, primer, and SPF is your pre-camera skincare power trio.
Practical On-Set Skin Survival Tactics

Congratulations, you’re well prepared and made it to the green screen. You’re halfway there. Here’s how to keep your skin under control mid-production.
6. Makeup Magic
Choosing the right makeup is essential. It enhances your look while preventing any on-set hassle.
- Foundation for Film: Use low-SPF foundation to avoid light reflection issues.
- Powder Play: Apply powder to prevent shine. Do regular touch-ups to keep oily spots at bay.
- Blot, then Roll: Blotting papers are your friends in this fight against oily skin. Trust me, absorbing excess oil makes quite the difference.
7. Keep It Cool
This might be easier said than done, but try your best to stay cool under the intense spotlight. Here’s how to cheat the system:
- Mini Fan: Keep one on hand. A quick blast of air might just save you some sweat.
- Cooling Mist: Use a refreshing spray for both soothing and cooling your skin.
Objective: do whatever it takes to maintain comfort and prevent sweat streaks through makeup. Especially during long shooting gigs.
Post-Shoot: Recovery Routine
Think you’re done as soon as you leave the set? Nope, not so fast. Aftercare is just as vital as what you did to prepare.
8. A Gentle Cleansing Ritual
- Remove Makeup: Get rid of the sweaty mask post-shoot with an oil-based makeup remover.
- Soothing Cleanser: Follow with a hydrating cleanser. Honestly, it’s like a spa day for your face after hard work.
9. Moisturize and Restore

Skin under those lights? It’s had a rough day.
- Deep Moisture: Use reparative skin oils or heavy-duty moisturizers to replenish or repair anything stripped away.
- Focus on Problem Areas: Notice any redness or irritation from the technical lighting? Take it out with a dedicated balm or product specific for sensitivity.
10. Hydrate and Eat Right for Recovery
Skin love starts from within. After long exposures to the vibrant green abyss, feed your body what’s good for it.
- Restore Hydration: Beyond water, consider foods rich in antioxidants and good fats like avocados and nuts.
Needless to mention, a good night’s sleep is irreplaceable. It’s nature’s ars for rejuvenation.
Common Mistakes to Steer Clear Of
Being outstaged by technical challenges is the last thing any performer or crew operator wants. Here’s what to avoid:
- Skip Oily Products: Under those lights, greasy formulations can make it look like you’ve seen a ghost. They’re a small mistake but a grave one for camera work.
- No Heavy-Layer Approach: Over-application thinking you need more protection appears cakey and may worsen skin stress.
- Underestimating Rest: Forgetting coffee in lieu of H2O actually helps balance out energy levels. Get that fuel that really counts.
All these dos and don’ts underscore one thing: start with the basics before taking it further into experimentation territories.
Wrapping it Up
Stumbling into a blistering setup without a solid skin preparation game is a rookie mistake you’ll want to gracefully avoid. Sure, navigating the clapboards-and-set light setup involves far more than the just high-tech rekindling of chroma keys. Approach each phase with skin consideration—from proper hydrating loopholes to understanding lighting nuances. If ever in doubt, keep this guide close by. Like that favorite backstage accessory.
And there you have it! Go conquer those invisible dragons—with your radiant, post-toast resilient skin, bathed beautifully in blocks of greens. Lights, camera, your best-looking action!
Frequently Asked Questions
Why can’t I use regular soap, lotion, cream, powder, or deodorant after using chlorhexidine gluconate (CHG) or Hibiclens for skin preparation?
These products may interfere with the CHG or Hibiclens binding to your skin and decrease its effectiveness. It is important to avoid using them after the skin preparation to ensure the antiseptic remains effective[3][5>.
Why do I need to apply CHG or Hibiclens to my entire body when the surgery is only on a small area?
The microbiome is present all over the skin, and applying CHG or Hibiclens to the entire body helps decrease the overall bacterial presence, reducing the risk of surgical site infections[1][3).
What if I experience a rash or skin irritation after using CHG or Hibiclens for skin preparation?
If you develop a rash or skin irritation, do not proceed with the second skin cleansing and notify the pre-operative staff. They may instruct you to use a different soap or apply the CHG or Hibiclens only to targeted areas[1][3).
Why is it important to let the skin cool off before applying CHG wipes, and what if my skin feels itchy or tacky afterwards?
Applying CHG when the skin is warm can increase the risk of skin irritation because the pores are open. If your skin feels itchy or tacky after using CHG wipes, it is normal, but avoid rubbing the skin vigorously. If a rash or skin irritation develops, notify the pre-operative staff[1).
References


