
Have you ever found yourself staring at your screen, wondering if there’s a way to make virtual tutoring sessions more engaging and less daunting? Perhaps you’ve struggled with keeping your students focused or motivated during online tutoring. Well, you’re not alone. Trust me, many tutors and educators grapple with this same challenge, and guess what? The concept of virtual tutor skins might be exactly what you need to transform your digital teaching experience.
What Exactly is a Virtual Tutor Skin?
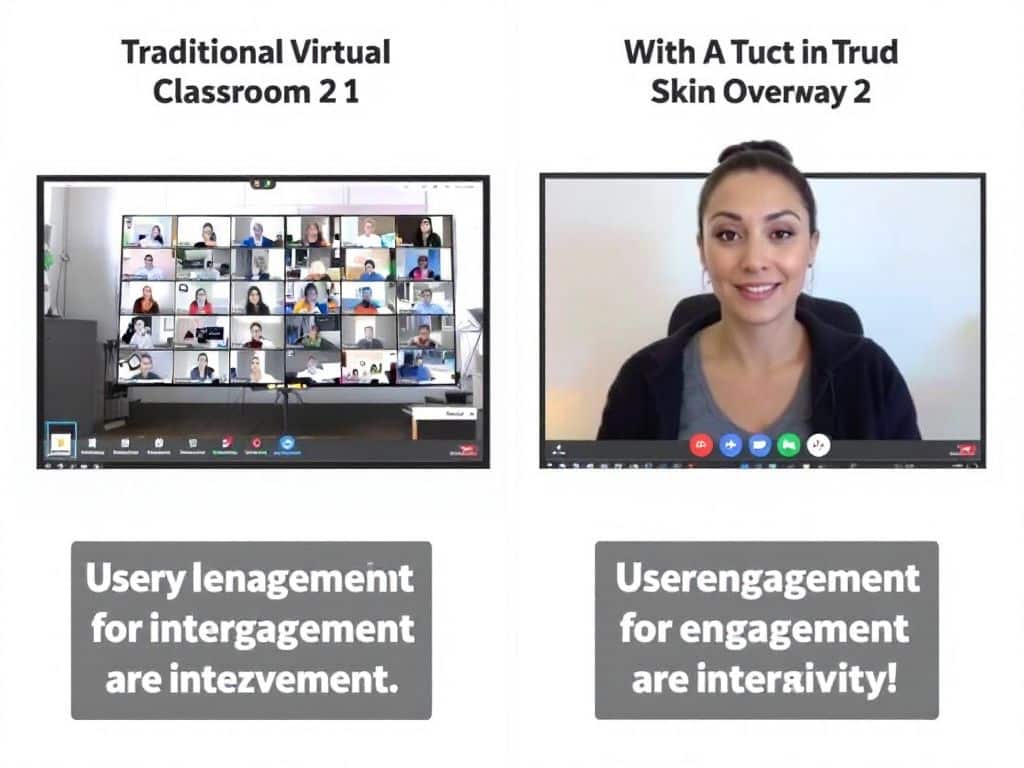
Let’s get the basics out of the way: a **Virtual Tutor Skin** is essentially a customizable module that overlays on your virtual tutoring platform. Picture it as a digital persona or interface that enhances interaction between students and tutors. It’s about making your virtual presence more animated and captivating, helping you turn a simple online lesson into a lively educational journey.
Why Choose Virtual Tutor Skins?
Switching from traditional tutoring to virtual can be overwhelming, no doubt about it. Getting tutoring-ready involves not just converting content for the online space but also ensuring that your virtual environment is interactive and engaging. Virtual tutor skins offer that extra dimension—they make sessions feel more personalized and tailored to the student’s learning style. This leads to better attention retention and overall improved outcomes.
Imagine having a cool, engaging interface that reacts as you explain complex topics or facilitates smoother transitions between session segments. You’re not just teaching; you’re inviting your students into a vibrant world of learning.
Getting Started with Virtual Tutor Skins
So, how do you dive into this brave new world of enhanced virtual tutoring? Well, let’s break it down:

Step 1: Determine Your Needs
Start by asking, what’s the current status of your virtual tutoring sessions? Maybe there’s a need for more interactive tools, or perhaps your presentations could use a visual upgrade. Assessing these needs is crucial because it sets the stage for the kind of virtual tutor skin that will best complement your teaching style.
Step 2: Explore Available Platforms
Several educational tech companies offer virtual skins, each with unique features and capabilities.
Key Considerations:
- Ease of Integration: Ensure the skin is compatible with your existing platform.
- Customization Options: Look for skins that allow you to adjust graphics, themes, and interfaces to your taste.
- Interactive Features: Consider features that can actually aid in teaching, like interactive problem-solving games or animated quizzes.
Step 3: Customize Your Tutor Skin
Once you’ve landed on a platform, it’s time to get your hands dirty.
Personalization Ideas:
- Add Your Branding: Include logos, colors, and fonts that align with your brand.
- Interactive Zones: Create areas where students can click for hints or additional resources.
- Dynamic Animations: Incorporate animations to demonstrate points in real-time without losing the student’s attention.
Take your time exploring different styles and functions. The great thing about tutor skins is the flexibility involved. You’re playing around with visual settings, so there’s room to experiment until everything clicks perfectly into place.

Overcoming Challenges in Virtual Tutoring
Even with enhanced virtual tools, challenges are inevitable. But that’s okay! Some hurdles reflect issues inherent in remote tutoring, such as technical difficulties, whereas others are new dilemmas introduced by the essence of virtual skins. Here’s how to tackle some common roadblocks:
Common Mistakes to Avoid
- Overloading on Tools: More features don’t always equal better teaching. Overuse of flashy elements can be distracting, making concentration harder for students.
- Ignoring Feedback: Your students’ interactions can offer valuable insights. Are students navigating effortlessly? Use this feedback to refine your setup. Regularly tweaking the virtual skin based on real-world usage keeps it effective and fresh.
Addressing Technical Issues
Yes, technical hiccups. We’ve all been there—connection drops, frozen screens, tools not loading.
- Reliable Internet Connection: Conduct routine checks before sessions. Latency can disrupt even the smoothest interface. Pro instance, tools might face update glitches—a quick tech audit ensures your session sails smoothly.
- Session Back-Up Plans: Always have a fallback route ready. If virtual skins add complexity, simple slides can save the day. Sketched explanations re-engage involvement instantaneously.
The Future of Virtual Tutoring

Embracing the idea of virtual tutor skins today definitely puts you ahead of the curve. As technology advances, such solutions will likely incorporate even more immersive elements like artificial intelligence to give personalized feedback and virtual reality components that provide immersive lessons.
Experimenting and adapting is key. Each student and lesson requires its own nuanced approach. One is the student grappling with complex math problems, and another merely wants to ace conversational Spanish. The level of engagement virtual tutor skins introduces is invaluable in customizing those experiences.
Key Takeaways

And there we have it—a whirlwind tour of the *Virtual Tutor Skin* concept. Let’s circle back to a few pointers:
- Virtual tutor skins add vitality and a highly interactive dimension to online classes, making learning fun and engaging for students.
- Getting tutoring ready means you’ll need to consider your students’ needs, explore suitable platforms, and customize interfaces that suit the learning objectives.
- Tackling hurdles and ongoing adjustment ensures seamless integration and steers the success of virtual tutor skins in your teaching methods.
Give this emerging, slightly adventurous method a spin if you crave interactivity and engagement like never before seen in distance learning. Trust me, it’s worth exploring how you can transform teaching environments and redefine remote learning experiences. 🎓
Frequently Asked Questions
What are the key components of event preparation?
Event preparation involves several critical components, including strategic planning, creative development, logistical planning, and execution. This encompasses managing the budget, scheduling, site selection, acquiring necessary permits, coordinating transportation and parking, arranging for speakers or entertainers, decor, event security, catering, and coordinating with third-party vendors. It also includes pre-event planning, on-site management, and post-event activities like attendee feedback collection and event performance analysis[1].
What are the 7 stages of event planning?
The 7 stages of event planning include Research, Design, Planning, Coordination, Evaluation, Implementation, and Follow-up. These stages guide event planners through the lifecycle of an event, from the initial concept to post-event analysis, ensuring a structured approach to creating successful and memorable events[1].
How important is creating an event FAQ for attendees?
Creating an event FAQ is crucial as it helps attendees find solutions to common problems quickly and conveniently. It reduces the time spent by event staff on answering repetitive questions and ensures that attendees have all the necessary information in logical and accessible locations, such as the event website, email blasts, and the event app[3].
What are some best practices for pre-event preparation, especially for virtual events?
For virtual events, best practices include creating a sample event and reusing it, avoiding back-to-back sessions, assigning roles to team members, and ensuring at least 30 minutes of prep time before the event. Additionally, promoting the event through simple registration forms, email campaigns, and social media, and using tools like Adobe Connect to streamline the process are highly recommended[2].
References